
The video above here is demonstrated in Telugu,
click here - to watch on Youtube
#Note: It is recommended to watch blog and video on laptop for better visibility
#Note: All the coloured texts are links that can help you navigate to particular topic
Now for Demo Purpose, let us bring an AWS EC2 instance up, make sure you have .pem key assigned to it in key pair
here point to note is that you cannot use .pem key to login to server using winscp, however winscp tool will help you convert .pem to .ppk
we want to use .pem key for powershell method which we will use later
make sure you do not lose this private key file from your local
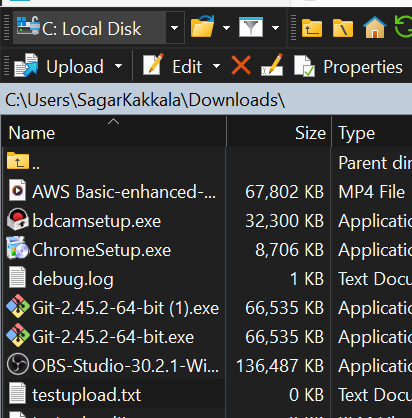
Let us create a testupload text file in our local windows

Now before we start, we have our AWS EC2 up and running,testupload text file from local, and AWS private key that was downloaded while turning up instance
also note down the public IP of AWS EC2 that we have turned up

in this demo case it is 16.171.155.217 and since we have used ubuntu OS, user will be ubuntu
Upload files using Winscp
First tool you can use is Winscp, which you can download it for free - Winscp Download

click on NewTab icon in winscp, Enter AWS Public IP and user as Ubuntu in dialogue box appeared

since we did not give any password, click on Advanced > Authentication

click on three dots at the end of Private file dialogue box to upload our key,

By default it searches for .ppk files, since our private key is in .pem format, click on dropdown and select the option with .pem, only then you will be able to find .pem format

Now click on the file and open, you will see a dialogue box similar to below screenshot
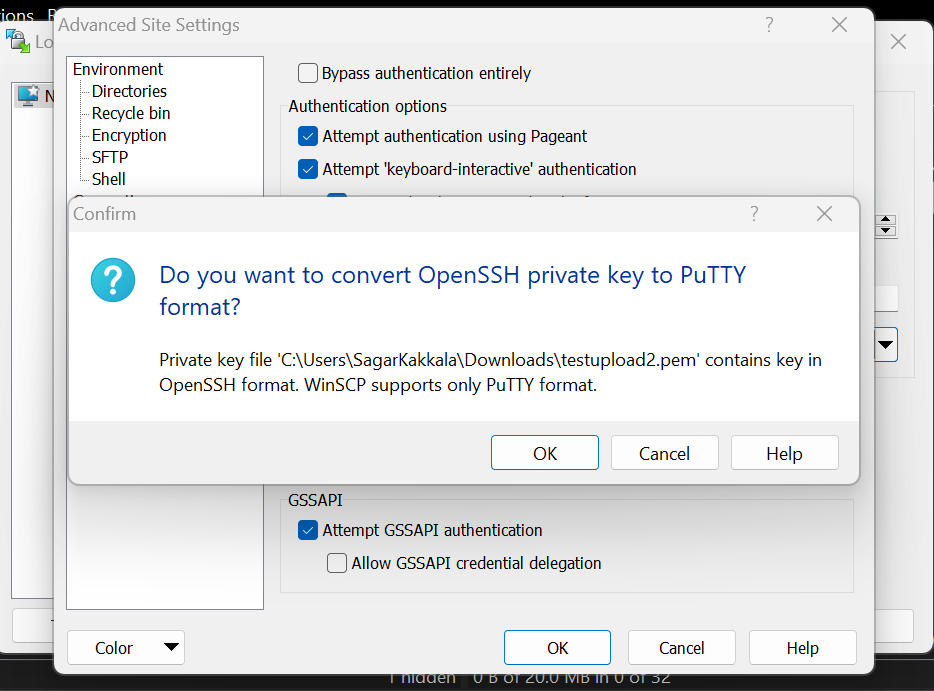
click ok, and it copies your .pem and converts to .ppk format


click ok,

click login

Now you can see two tabs on your winscp as per below screenshot, one on the left is your local windows, to the right is your AWS EC2

you can just navigate your path as like as shown below and , you just have to drag and drop the file from left to right, or Mouse Right click - Copy and Paste as well will work


find the file of what you want to upload to AWS EC2, now just drag and drop it to right dialogue box

You can also verify from AWS EC2 instance,

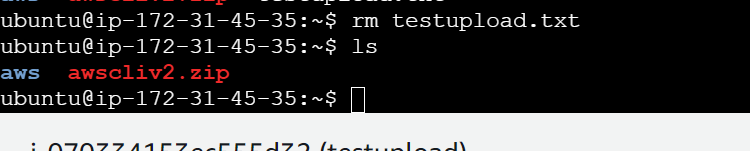
Now delete the test file to play with other methods mentioned in the blog

Upload files using Powershell/CMD
scp -i path/to/your/private-key.pem path/to/local/file username@ec2-instance-public-dns:/path/to/remote/directory

now above command will be updated in this way for our case
scp -i testupload2.pem testupload.txt ubuntu@16.171.155.217:/home/ubuntu
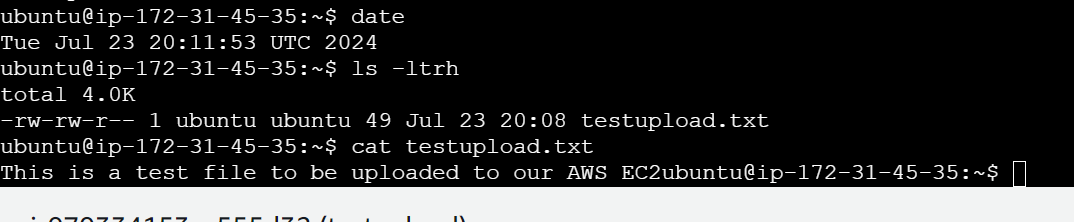
As you could see the file is in the server from above screenshot
rm testupload.txt
Before working with topics of S3 Bucket, you need to have aws cli installed in your AWS EC2
sudo apt install unzip
curl "https://awscli.amazonaws.com/awscli-exe-linux-x86_64.zip" -o "awscliv2.zip"
unzip awscliv2.zip
sudo ./aws/install
AWS CLI might take few mins to install

once aws cli is installed you can verify

Now let us a upload a file directly to S3 Bucket


i have modified name to testuploadbucket2345, once bucket is up, click on bucket name and click on upload > Add files

select the testfile to be uploaded from your local and click on upload
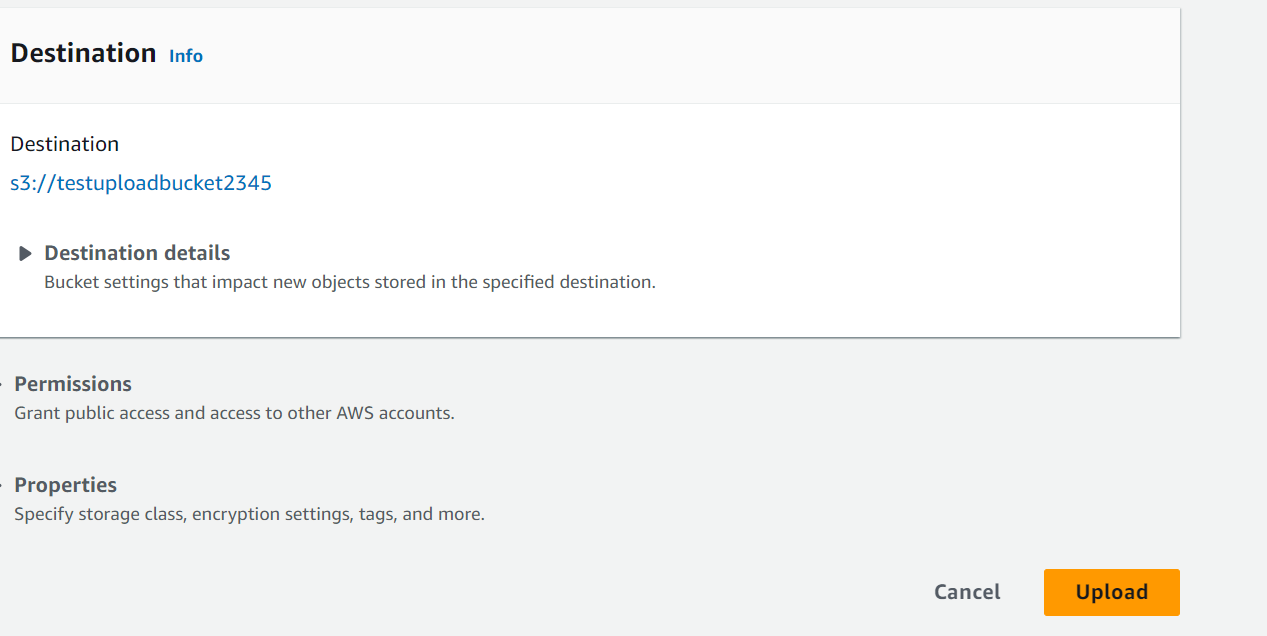

click on the file that you have uploaded to get the full path of it in s3 url
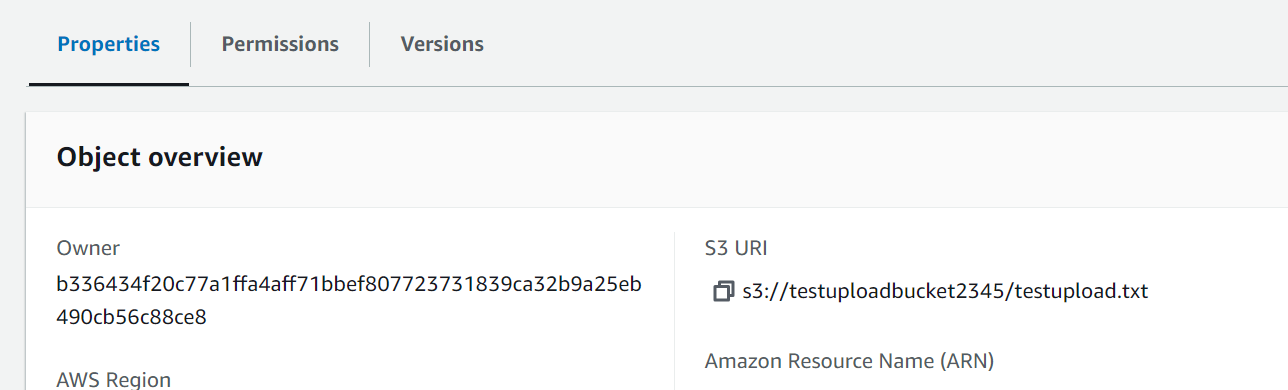
in our case it is s3://testuploadbucket2345/testupload.txt, this is the path where our file is stored
Upload files from S3 Bucket to AWS EC2 using Access keys
aws s3 cp s3://testuploadbucket2345/testupload.txt /home/ubuntu/

now we can solve this by using Access Keys and Access Secrets,search
for IAM in AWS console
once you are in IAM console, check for security credentials as
shown in below screenshot

once you click on security credentials, you will find option of
Access Keys, click on Create Access keys


once access keys are created, click on Download .csv file , your
downloaded file will have the below information

Now lets jump back into our AWS EC2 and configure these credentials
with command
once access keys are created, click on Download .csv file , your downloaded file will have the below information
aws configure
aws configure

Now our AWS EC2 is configured with access that of Root Account, if
the Access keys are created with IAM account, then our AWS EC2 will
have access only to resources that IAM account has
since these access keys are generated within root account, our EC2
will be able to access all resources which is not recommended,since it
is a demo project, we are going with root account
Now if we run the above command
aws s3 cp s3://testuploadbucket2345/testupload.txt /home/ubuntu/

As you could see from above screenshot, we got our file now into AWS
EC2
Now, also if you want to check AWS Credentials inside AWS EC2, you
can check at this path

removing .aws folder also deletes credentials from EC2 , and EC2 will
no longer have access to other resources in AWS

As you could see from above screenshot, we were no longer able to
access s3 bucket once we removed credentials file.
let us also delete file that we uploaded to play with other methods
as mentioned in the blog
we have deleted the file and also not to be confused "aws"
folder as per screenshot is downloaded with awscli installation and
".aws" is a hidden file used to store credentials that we have deleted
now
if you have did the demo on root account, it is important to delete
Access Keys from console for better security as exposing these
credentials can lead to unwanted chaos

deactivate and delete access keys
aws s3 cp s3://testuploadbucket2345/testupload.txt /home/ubuntu/As you could see from above screenshot, we got our file now into AWS EC2
we have deleted the file and also not to be confused "aws" folder as per screenshot is downloaded with awscli installation and ".aws" is a hidden file used to store credentials that we have deleted now
Upload files from S3 Bucket to AWS EC2 using IAM Roles

In order to avoid using credentials, we can also use Roles where we can make an IAM Role to have permissions only to s3 bucket and not to all the resources in AWS like the root account posses

click on Roles > Create Role


Always prefer a name that any person from your organization can understand for the same use case to avoid having multiple IAM Roles with same permissions


Click on Actions > Security > Modify IAM Role

aws s3 cps3://testuploadbucket2345/testupload.txt /home/ubuntu/
As you could see from above screenshot, we were able to download the file without credentials,since we have given s3bucketfullaccess to EC2, we can also delete the file from Bucket from EC2, literally any tasks can be performed as the role attached has full access
aws s3 rm s3://testuploadbucket2345/testupload.txt
Before moving to next, delete the file to play with other methods mentioned in the blog

Upload files using Github
Upload SSL Certificate using Github in our Project
Now we need to upload this files into our server. We will discuss about various ways to upload a file in server in later part of the project.
You can leave the repository as public as we will keep the file in Git for a very short time

Once the repo is created, click on upload an existing file


once committed, click on code and copy the URL.

Now login to AWS EC2 Server in which our application is running.
git clone https://github.com/Hari0o/SSL_temporary.git

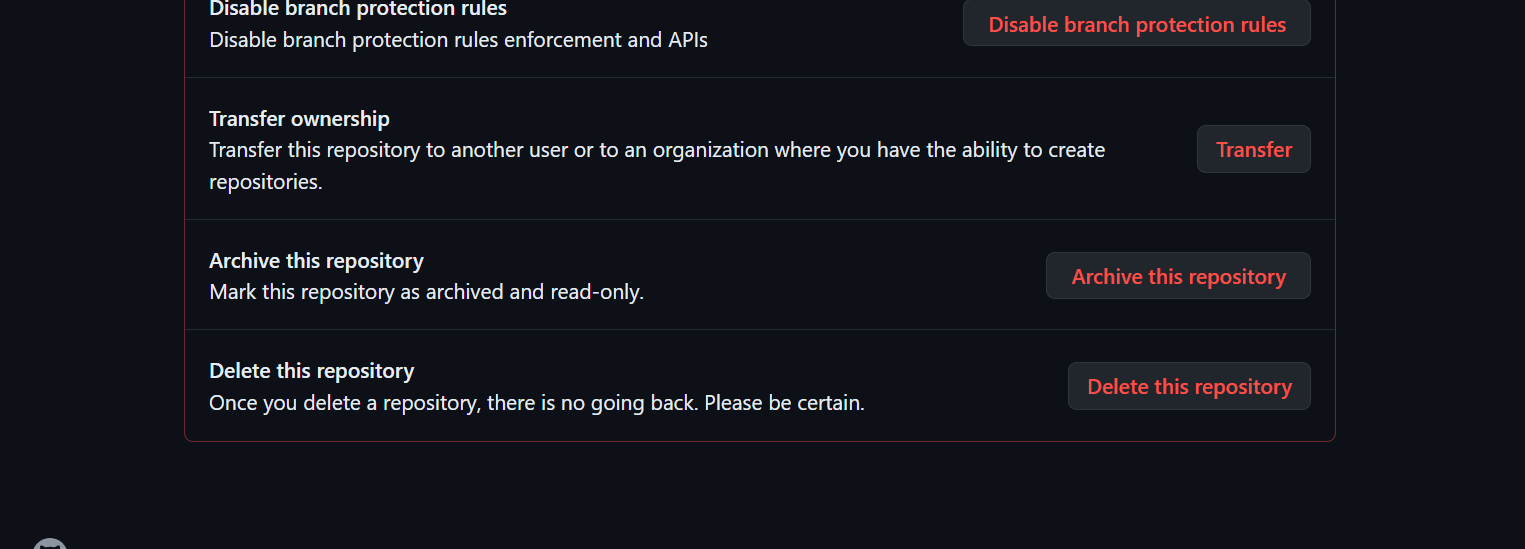
Once you are sure, Come back to your repository and delete the Repository as SSL data is confidential

and scroll down to the end till you see a option of delete the repository
Comments
Post a Comment