.png)
Highly Recommend using repo here - Day11 to practice this project instead of code present in snippets, In case of confusion, Please do watch video that is explained in English, the code here in the blog is not changed to keep screenshots intact
Why is Terraform Widely used?
Terraform is widely used because of its popularity and plugins provided for all most all cloud providers out there, You can use Terraform to provision infrastructure on AWS, Azure, GCP or any cloud that you name it
In case of AWS, we can use CloudFormation to provision infrastructure on AWS, but it is constrained only to AWS resources, you cannot use CloudFormation to provision Azure Infrastructure
What makes Terraform different from Ansible?
Ansible can also be used to provision Infrastructure from code just like Terraform, Ansible can also be used to provision multi cloud, but still ansible is not preferred for provisioning infrastructure, its because Ansible does not store state files like Terraform
State files are generally complete information of infrastructure provisioned till now, every time new infrastructure is provisioned, this state file gets updated. so these state files are taken as backup in a form of versioning mostly in S3 buckets, which you will learn later in this same blog
Installation of Terraform
Before Installing Terraform, i recommend you to download VS studio code and also install Terraform extension in it

once vs code is installed, also install Terraform extension by going to extensions tab and search for HashiCorp Terraform and click on install

Now lets download Terraform from official page - Terraform Download


Now create a new empty folder named "Terraform" in your local disk C

Copy the previously copied contents from our Terraform downloaded file into this Terraform folder

Now edit your system variables in your windows just search "system variables" and click on Edit the system variables
.png)
click on "Environment Variables" that you see at the end of dialogue box

select PATH in system variables and click on Edit

Click on New and Add "C:\Terraform" and click on OK


Click Ok

Now our Terraform is installed successfully, verify it using your cmd
open your cmd and type terraform --version
terraform --version
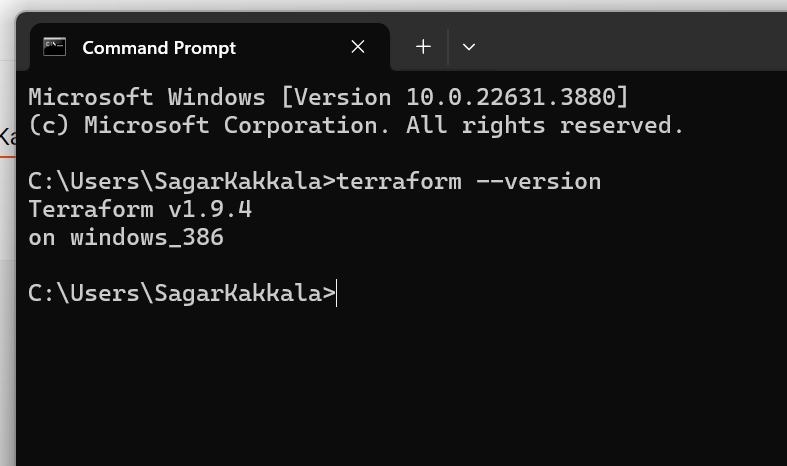
if it shows terraform version without error, it means , Our Terraform is successfully installed.
Installation of Terraform on MacOs
Access to AWS Account from Terraform
Since for this Project, we were using AWS account, let us create an IAM user specific to Terraform, Go to AWS console, search for IAM

let us create new user specific to terraform

name any user name you love to, i named user as "terraform"

In the next page, click on Attach policies and give Administrator Access, we are giving full admin access as we want to provision every infrastructure using terraform user

click Create User

once user is created, click on user

go to Security Credentials Tab

scroll down to access_key and click on create_access_key


check on I understand and click on Next

Give any description and click on Create Access Key

click on Download.csv as these credentials will be lost once you click done
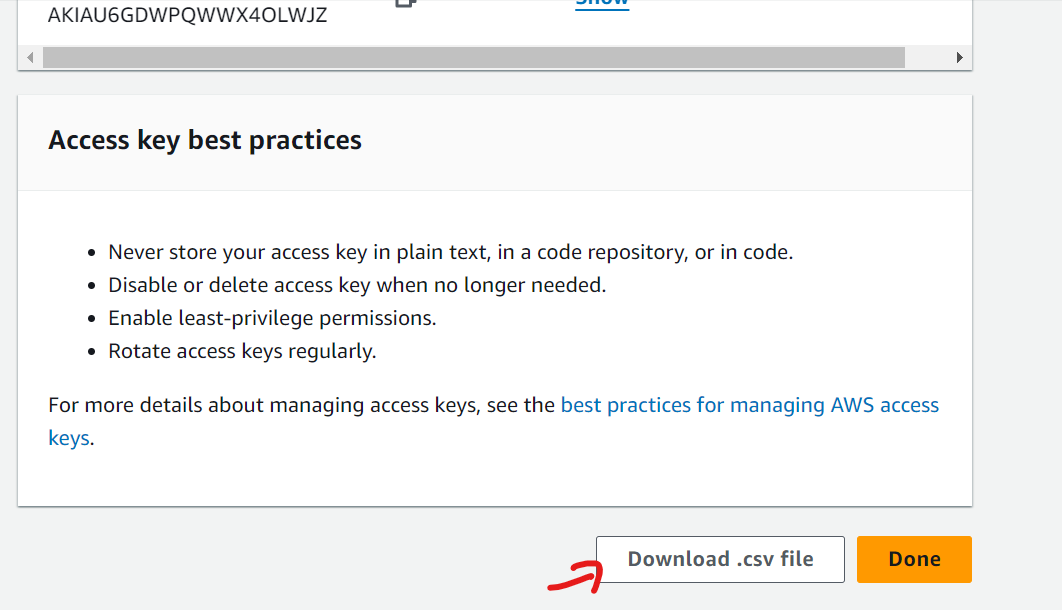
You will get .csv file with value of access key on A2 and secret key value on B2

Let us provision our AWS Infrastructure now
You can use this repo for Project
git clone https://github.com/sagarkakkalasworld/Day11
For the beginning, i am creating an empty folder in my system called Terraform demo

Now open your vs studio code, file, open folder and select the empty folder that you created
.png)

You will find VS studio code empty like this

Now before we provision our resources, go for terminal and select cmd, run terraform -- version to check if we are able to run terraform command through vs studio code
.png)
run terraform --version, in case , you get error as below, just close and open your vs studio code

you should see output like this

once it is done, let us create terraform files, every terraform file must end with .tf extension,let us first write
.tf file in which we will give access for terraform to provision infrastructure
.png)
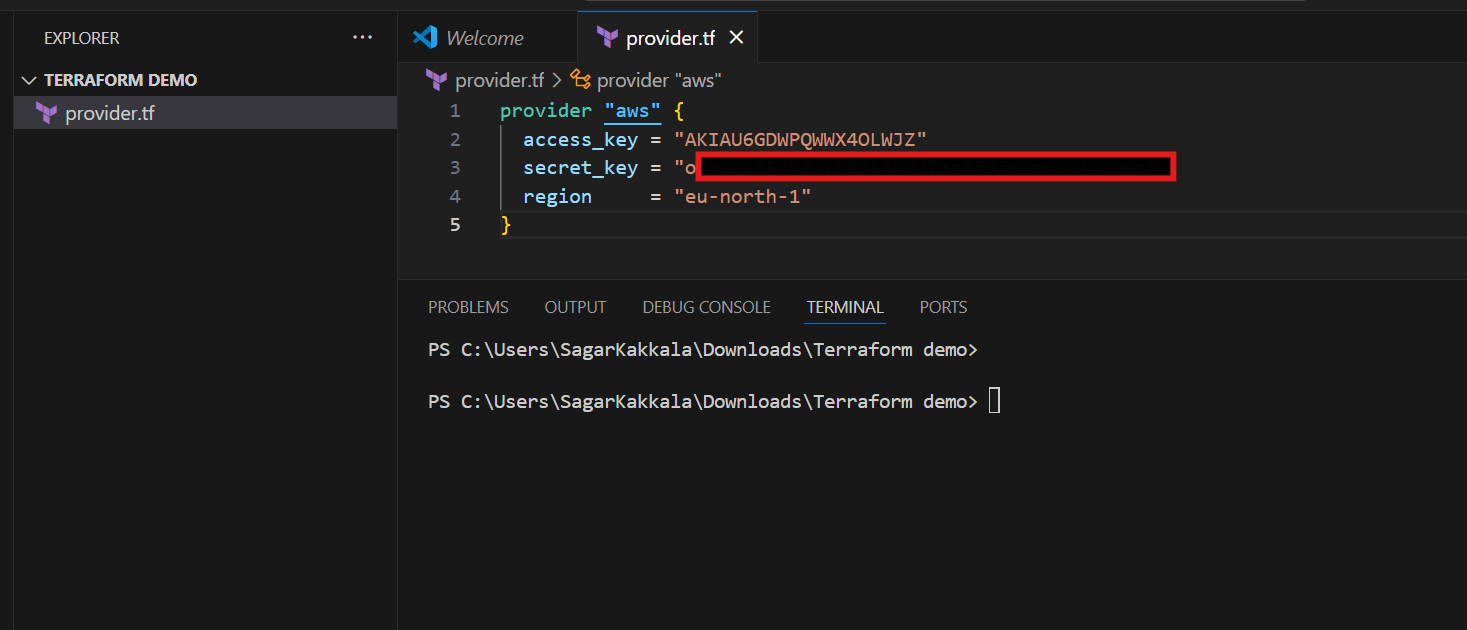
this is the file where we give access,
provider "aws" {
  access_key = ""
  secret_key = ""
  region     = "eu-north-1"
}
give the access_key and secret_key details with the values that you got from downloaded csv file, and the region value to be the value of where we want to provision our resources
since i want to provision, in stockholm, i gave the value of region as "eu-north-1", please do check regional values in case you want to provision in different infrastructure
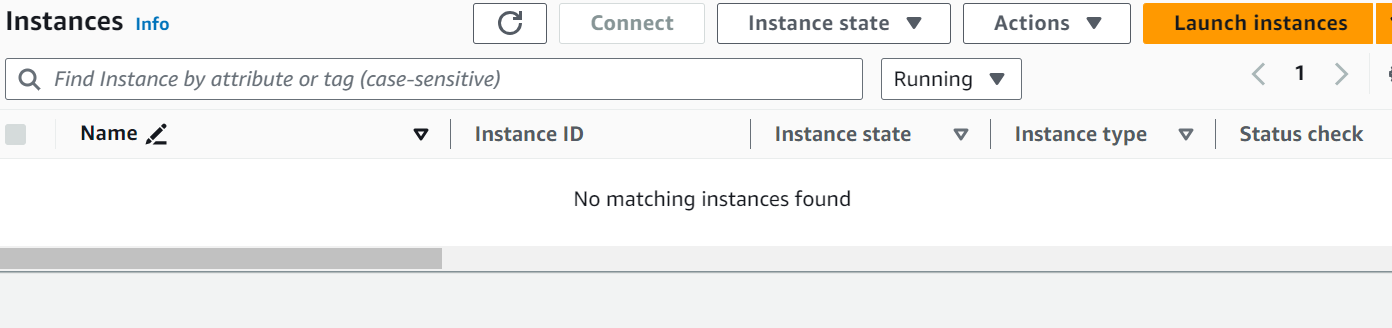
.png)
As you can see there are no resources running
once you fill the file with access_key and access_key secret,
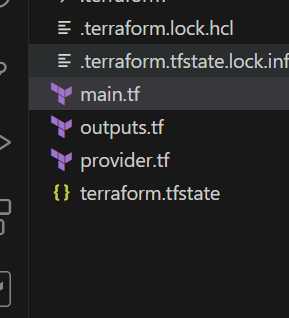
click on file, Save, and then run command "terraform init"
terraform init
once you give terraform init, you will find new file .terraform created , which downloads AWS plugins as we have provided AWS as provider

Now since our AWS Plugins are installed, let us turn up our first AWS resource using terraform
Understanding Terraform arguments and attributes with documentation
for any resource, you want, just google with terraform as prefix and access terraform docs page


click on copy and change the values as per your requirement
let us understand the block of file

Here the block , "data" is used to read the existing values, in this case, it reads values of existing ami id from amazon market place and fetches the value and this value can be passed on to other value like
"aws_ami" is the main block of market place, this is terraform specified syntax and you need to follow it default
"ubuntu" it is any name that you can give of your choice
In the same way, if you go to "resource" block, resource block is used to provision our AWS resources, "aws instance" says it must provision AWS EC2 instances, likewise if it is s3 bucket resource block might change like "aws_s3_bucket" , lets come back to our block, "web" is the name for terraform to identify this block
to put it simply aws_instance is resource type and web is resource_name
Arguments:
here ami, instance_type and tags are called arguments, what more arguments can you pass, you can refer documentation
in the same page where we got the example, click on Argument reference, to see what arguments can be passed

As you can see from ami argument, we gave value like data.aws_ami.ubuntu.id, these are called attributes, In the same documentation, you can find

since it is documentation AWS EC2, you can get attributes and read it in other blocks like
aws_instace.web.id
aws_instance.web.arn... and you can use this values as outputs to check what value it returns
if the value is not in attributes, you cant get output of that particular value
let us write an output file as well

Understanding Terraform Commands
Also now let us understand the command in terraform before we apply
terraform init
the above command initializes terraform to get plugins, since now we used aws_instance block , it will download aws ec2 plugins,
in case if you want to run another aws ec2 instance using resource block, you don't need to run terraform init command
in case you used new resource like aws s3 bucket, you need to run terraform init for terraform to get plugins related to aws s3 bucket
terraform validate
this above command determines whether you are using right plugins in your resource block, let us understand command better by an example

As you can see from above screenshot, i misspelled aws_instance as aws_instanc, which showed me place where there are errors, and effects it took because of error we made

terraform validate works this way
terraform fmt
terraform fmt command helps in clean format of code for readability
for example

This is bit difficult to read when there are lot of lines of code to read and if you give terraform fmt this is what it does
it shows the file which it has formatted, terraform fmt is used for better readability of code

let us understand, terraform plan, apply , destroy, import commands with the resources
Provision your First AWS Resource using Terraform
main.tf file:
data "aws_ami" "ubuntu" {
  most_recent = true


  filter {
    name   = "name"
    values = ["ubuntu/images/hvm-ssd/ubuntu-jammy-22.04-amd64-server-*"]  }


  filter {
    name   = "virtualization-type"
    values = ["hvm"]
  }


  owners = ["099720109477"] # Canonical
}


resource "aws_instance" "web" {
  ami           = data.aws_ami.ubuntu.id
  instance_type = "t3.micro"


  tags = {
    Name = "HelloWorld"
  }
}
output.tf file
output "id" {
  description = "Id of the created App Service"
  value       = aws_instance.web.id
}
Assuming that you have already updated providers.tf file, since now we are using resource of aws_instance block, first command would be
terraform init

terraform plan
This command shows what terraform will be creating, its like to verify what infrastructure will be created or deleted
once you run terraform plan, it will also generate state file as you can see in below screenshot
terraform.tfstate
terraform will compare state files to notice changes between present configuration to previously existing infrastructure and tells what changes are there are to be made
Now lets do terraform apply
terraform apply
it applies infrastructure as per plan

terraform apply waits for user inputs

In case, you want to proceed terraform without user input, you can update command with auto approve
terraform apply --auto-approve
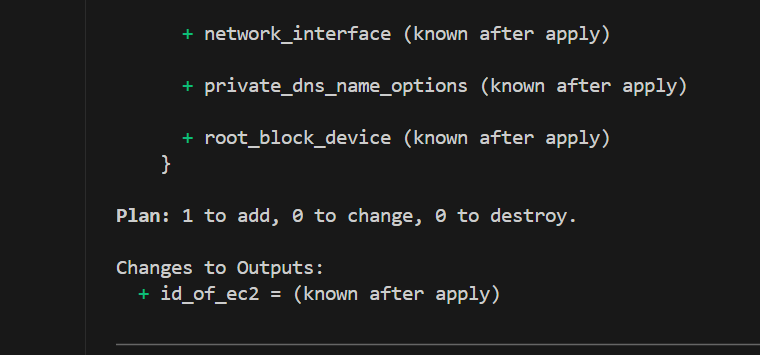
And as you can see our terraform created AWS EC2 and gave the following output as well

let us verify in our aws console

As you can see id is same as that we got from Output value
terraform destroy
This command destroys complete infrastructure that is built till now and destroys all the infrastructure that is built using terraform till now
if the resources are not built by terraform, terraform cant have control over them, but we can bring manually built resources as well using import command which we will discuss later

even destroy command waits for user inputs , you can avoid it using auto-approve (not recommened)
generally terraform destroy is a dangerous command, if you are using this command, be sure of what and why you are doing
As you can see from below, the resource got deleted

Import Existing Resource to Terraform
let us a create a resource manually, on our AWS console first


First step to do is to add resource block in our terraform file, since it is aws_instance, add an empty aws_instance resource block
resource "aws_instance" "terraform_import_instance" {
}

once you created empty block, save file and give terraform init to it
now go to your aws console and copy instance ID that you want to bring under terraform control

Now run the command
terraform import aws_instance.terraform_import_instance i-0e28b5ad746bbf726
in your case, the instance ID would be different

We have got instance successfully in terraform control, but we need to fill out empty resource block that we created
you can use command
terraform state show aws_instance.terraform_import_instance

This gives you complete info about instance, take the required information from this data and fill it in our empty block,
for easy reference, i picked up same data that is used to provision our "HelloWorld" VM
updated the empty block this way
resource "aws_instance" "terraform_import_instance" {
  ami           = "ami-07c8c1b18ca66bb07"
  instance_type = "t3.micro"
  tags = {
    "Name" = "terraform_resource_to_import"
  }
}

Now let us, use destroy command to check if instance is in terraform control or not
terraform destroy

As you can see from above screenshot, it is able to destroy the instance
Provision Infrastructure using Modules
Its important to first understand why modules are used,it is to avoid repeatation
in our code, as you can see from below screenshot only names in tag and ami id may differ

To put it simple, you can write only one block and everytime you want to provision AWS EC2, you just need to change values.
i have written a simple module for AWS S3 Bucket which you can refer from the repo


As you can see from above screenshot, it requires only value of bucket, same way, you can variablize any number of arguments
In case, you want to pass on default values for this variables, you can just use one more arguments in variables block called default

module "s3_bucket" {
  source      = "github.com/Hari0o/module-s3-bucket"
  bucket_name = "randombucketnames849393"
}
In case, you want to use same module, change the bucket name, source is the repository or the path where where module code is lying

since it is a module of S3 bucket, run terraform init again

now let us do a terraform apply, according to module and variable passed, it must create an S3 bucket with name randombucketnames849393
terraform apply --auto-approve

note: it also created two EC2 instances along with S3 bucket, in case you don't want these to be created, remove resource block post destroying infrastructure using terraform
As you can see, it created s3 bucket from below screenshot

You can use modules available on internet for AWS, or you can create your own modules and use it
Remote State Backend using S3 Bucket and DynamoDB
It is important to store state files as it gets updated with every apply, most companies follow the process of taking state file and storing it in S3 bucket or other storage in versioning way
since i have found a resource where you will get a clear idea on how to use s3 bucket and dynamodb, i would recommend to watch this video by Cloud Champ
where he explained on how to create s3 bucket and dynamodb using terraform, and why these are used
This Concludes Our Blog here
🔹 Important NoteAlso, before proceeding to the next session, please do the homework to understand the session better - DevOps Homework
I Post most of my content in Telugu related to contrafactums(changing lyrics to original songs),fun vlogs, Travel stories and much more to explore, You can use this link as single point of link to access - Sagar Kakkala One Stop
🖊feedback,queries and suggestions about blog are welcome in the comments.
Comments
Post a Comment